Mining safety, Minesweeper, and support overlays
Hearthborn adds a Minesweeper-inspired annotation tool for cave mining. It combines your own tile markings with dust clues observed from the game, helping you keep track of what you have checked while exploring underground.
Why Hearthborn's Minesweeper is different: Similar tools exist in other Haven & Hearth clients, but I wasn't satisfied with how they worked, so I redesigned Minesweeper around my own approach: a practical way to mark cave tiles and interpret dust warnings, not a system that pretends to know which tiles are safe.
The markings are a planning aid, not a guarantee that a tile is safe to mine. Hearthborn also has separate mining safety checks for supports and dangerous conditions.
Minesweeper: enable annotation mode
Open the Mining section of the action menu and choose Minesweeper to enable the annotation cursor.
While this cursor is active, clicks on cave tiles are used for marking and inspecting clues; they are not sent to the game server as mining actions.
Press Escape to exit annotation mode. Existing marks remain on the map.
Place your own marks
Left-click a tile to cycle through the four states:
| Mark | Color | Meaning |
|---|---|---|
| ✕ | Red | Your own cross mark |
| ✓ | Green | Your own check mark |
| ? | Purple | Your own question mark |
| Empty | — | Remove your mark |
These symbols represent your own notes, not a safety assessment made by the client.
Automatic dust clues
When the game reports a cave dust warning (cavewarn), Hearthborn automatically records a numeric clue for the observed tile.
- Clues range from 1 to 8, with colors progressing from light blue toward red.
- A temporary clue is displayed with a tilde, such as
~3, and lasts 30 minutes. - A clue reports an observation from that tile. It does not declare the tile safe.
- Empty neighboring tiles of a visible numeric clue are marked with ?.
Temporary dust clues are hidden by default. To see them, enable Settings → Mining Safety → Show temporary dust hints. With this option disabled, only pinned numeric clues and your own marks are visible.
Pin or unpin a clue
Right-click a tile with a dust number while the Minesweeper cursor is enabled:
- A temporary clue becomes pinned permanently.
- Right-clicking the pinned clue again returns it to temporary status.
- If there is no dust number on that tile, the client reports that there is nothing to pin.
Persistence: Pinned numbers and all manually placed marks are stored in the map file and remain available after restarting the client. Temporary numbers are not retained after leaving the client.
Inspect neighboring tiles
Hover over a numbered dust clue to highlight its eight neighboring tiles. The tooltip shows:
- When dust was observed.
- How many open cave tiles and walls were present at the time.
- Whether the neighboring numbered clues are consistent with one another.
Matching clues do not prove a tile is safe. Conditions may change, and these numbers describe observations rather than a definitive mining result.
Mining safety checks are separate
Hearthborn can independently interrupt mining when it detects supported dangerous conditions, including:
- A broken or damaged mine support.
- Loose or unstable material.
- Mine-support radius and coverage concerns.
Control this behavior with its separate checkbox in Settings → Mining Safety.
Minesweeper does not enable, disable, or depend on the automatic mining stop option. Turning on annotation mode only changes how the annotation cursor processes clicks.
Mine-support ranges and overlays
Hearthborn can show mine-support coverage and configurable ranges for supported world objects. You can use these overlays alongside your annotations when planning where to mine.
The coverage display relies on loaded objects and the information currently available to the client. A colored support area or an apparently consistent set of clues should never be treated as a promise of protection against cave-ins.
Other cave-view options
Use the map's display settings to highlight selected cave terrain and ore types while navigating underground.
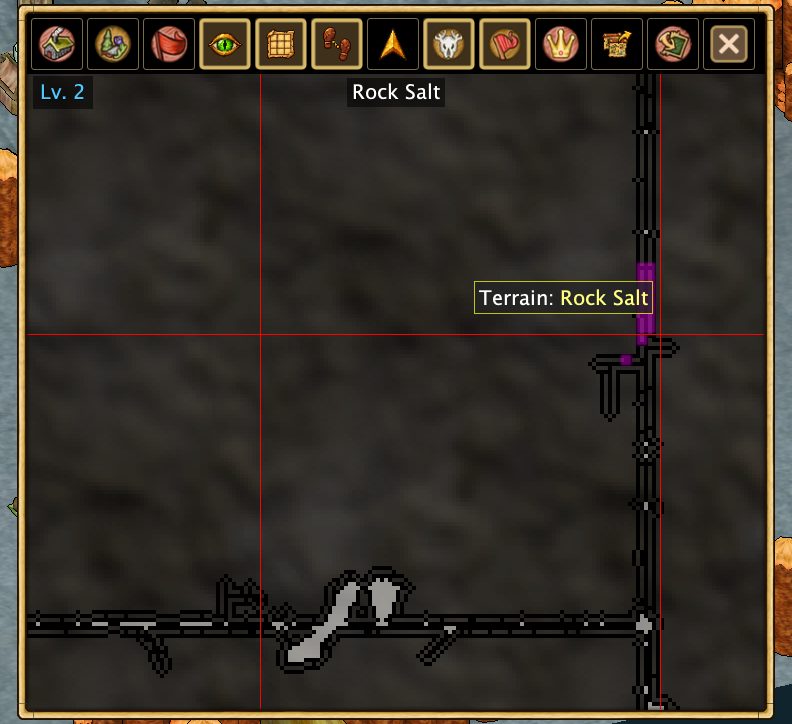
In short: Minesweeper is a way to record what you have observed and mark tiles for later. Automatic mining protection is a different feature with its own setting. Neither one replaces caution when mining.
Auto-Drop Manager
Options → Mining safety → Auto-Drop Manager opens a window that drops poor mined items as they arrive. Turn on Enable Auto-Drop Items from Inventory, then tick the kinds to drop and set the quality limit for each: stones, coals, ores, precious ores, mined curiosities and quarryartz. An item is dropped when its quality is below the limit; precious ores start at 999 (everything), the others at 30.
- Include Other Container Inventories also checks items that arrive in other containers. Without it only the main inventory is checked, including items inside its stacks.
- Only Drop when Pickaxe Cursor is Active judges only items that arrive while the pickaxe is the active cursor.
- Each item is judged once, when its quality is known. Whole stacks, equipment, the study and the cursor are never dropped from.